The Simplified Studio at Juniata College

New and Improved!
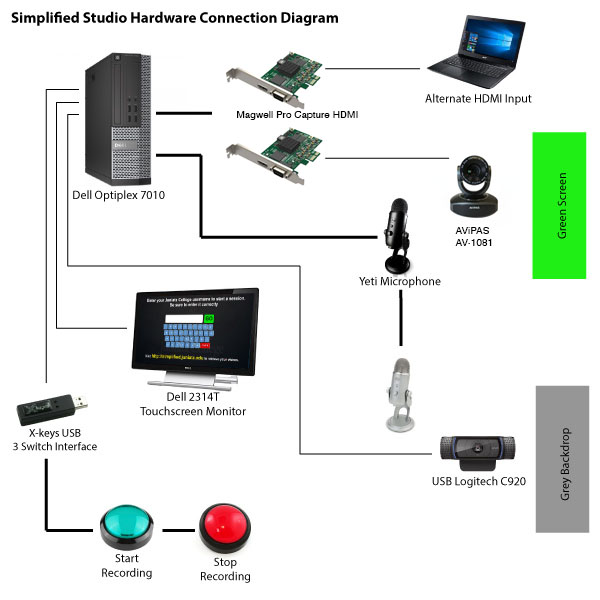
The Simplified Studio represents a flexible studio which supports to a wider range of uses. Below is a short list of the Studio's features:
- Key elements of the Simplified Studio:
- Open Broadcaster Software (OBS)
- Palakis' obs-websocket plugin
- NDI Technology
- Simplified user interface
- Green screen with live compositing and selectable backgrounds
- Ease in accessing recorded media
- No need for removable storage or media (i.e. USB Drive or SD Card)
- Videos are made available via network access
- Videos are identified and accessed by an individual's Juniata College user account
- HDMI input for displaying laptop input
- Multi-camera configuration allows for a wider range of uses
- High quality audio
- Recording playback preview
- Studio lighting and color balance to produce higher quality videos
Getting Started
One Page PDF Guide.
Before using the Simplified Studio, you need to create or already have a reservation.
Please visit the TSC at least five minutes prior to your scheduled session and pick up the key to the Studio. You will need it to unlock the door. Be sure to return the key after you are done using the studio.
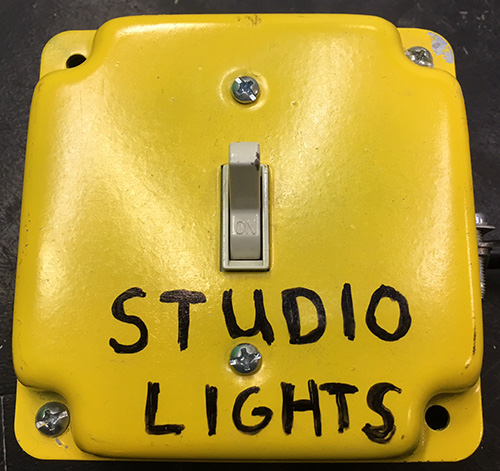 If the lights aren't already on, just find this switch and turn it on.
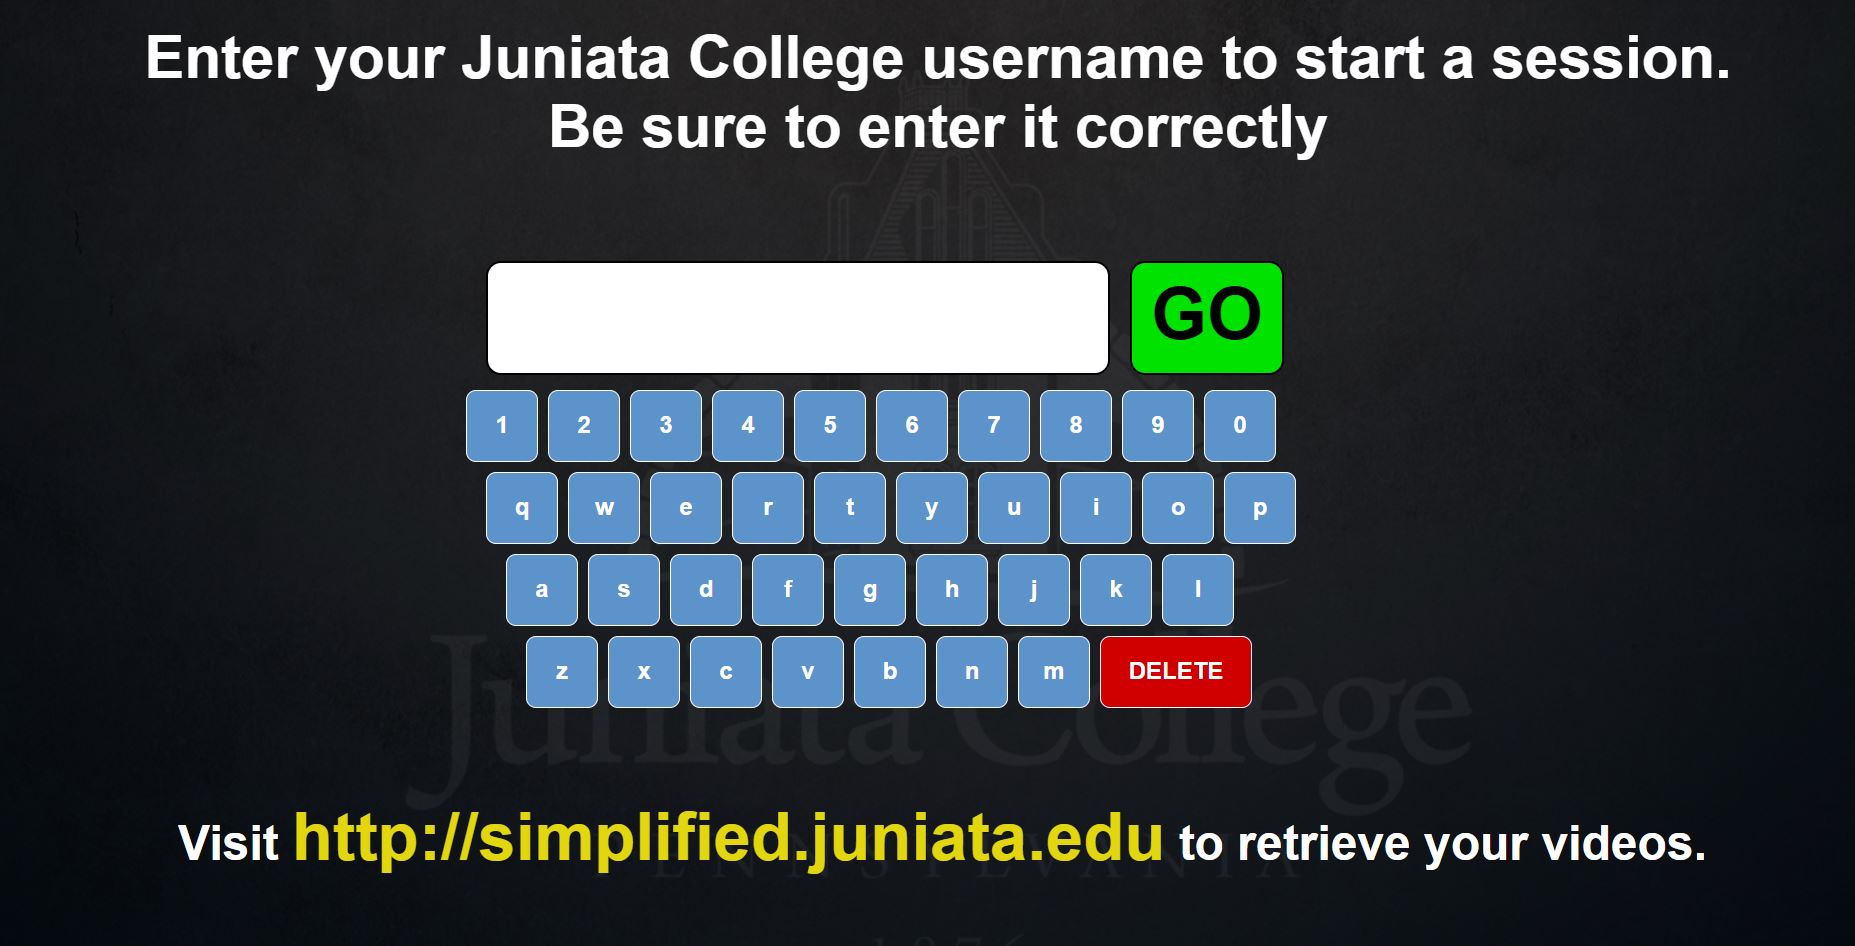 To get started recording videos, enter your Juniata College USERNAME when prompted. Please make sure you enter your username correctly, as your videos will be stored under that name on the network.
Below is an explanation of the recording session screen. If you see this screen before logging in, that means that the person before you forgot to log out. Do them a favor and tap "End Session" in the top right corner.
If you don't end their previous session, your videos will be stored under their username and you will be unable to retrieve them.
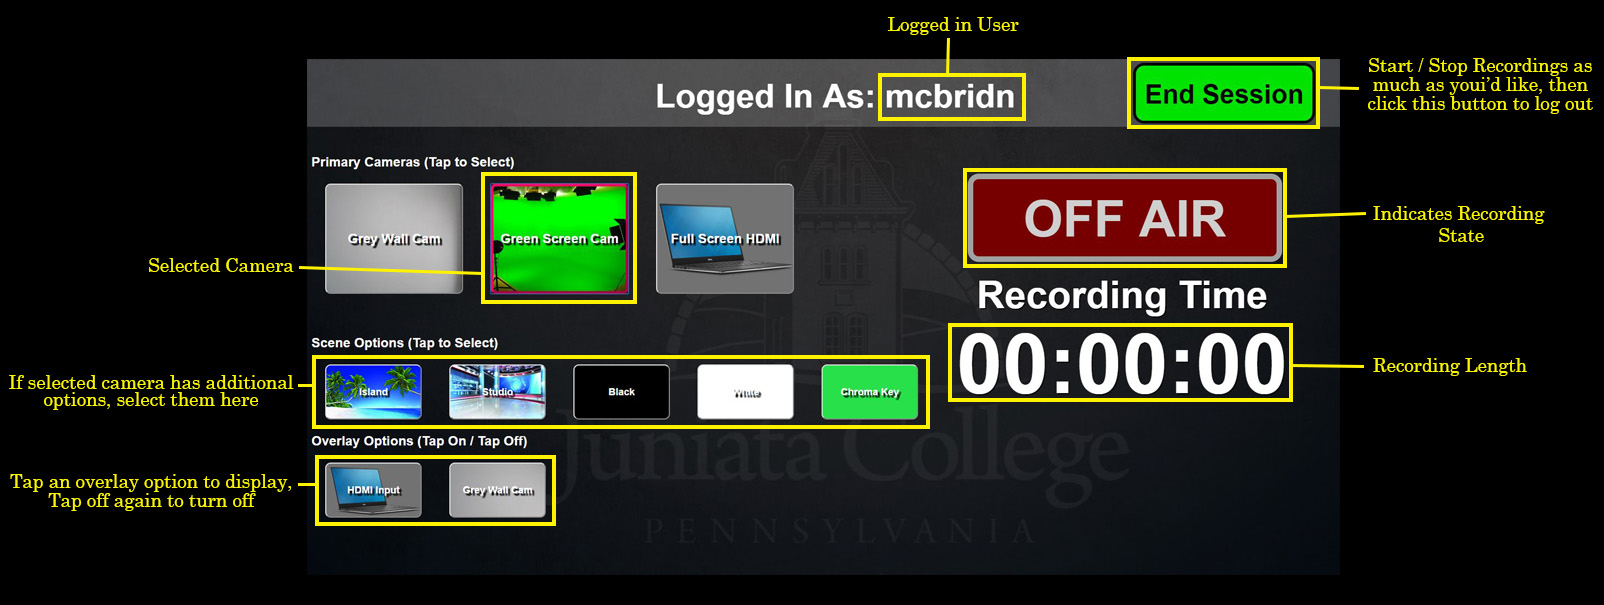
You may stop/start recording as many as times as you'd like during your session. After each time you stop a recording, you'll be presented with a preview of what you just recorded.
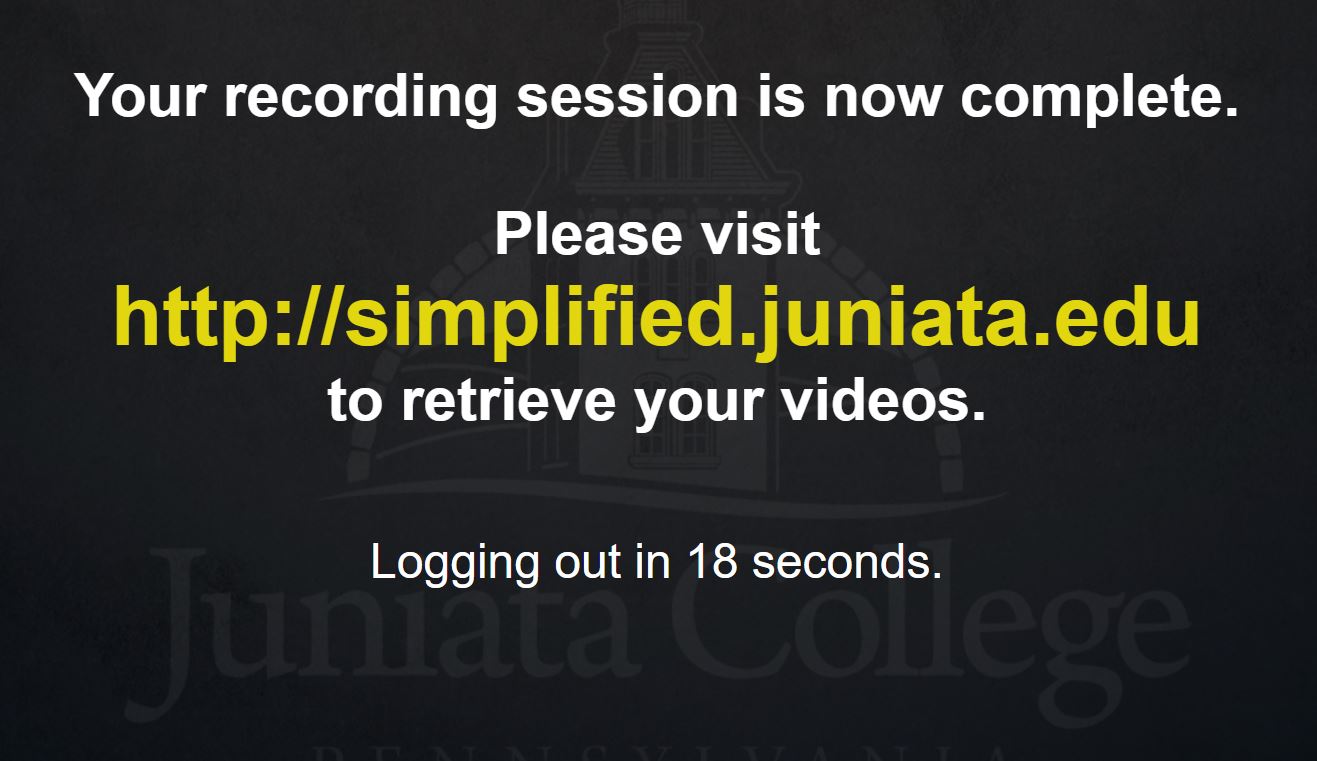
Once you have finished all of your recordings, tap the "End Session" button. You will be presented with the following screen as it logs you out.

What are the lines on the floor for?
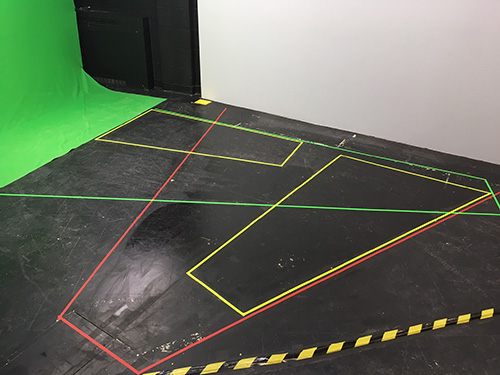 The lines on the floor are to help keep you in the correct position during recording.
GREEN LINES outline of the visible area and focus of the green screen camera.
RED LINES outline of the visible area and focus of the grey wall camera.
YELLOW LINES outline of the safe areas when using the optional overlays.
BLACK AND YELLOW safely covers cords running across the floor. Ignore these.
Always double check by looking at the preview monitor to make sure you're correctly framed and in focus.
Interested in contributing or building your own?
Good news, this project is open source! If you're interested in creating your own Simplified Studio or contributing to the project, please visit our GitHub page at: https://github.com/Photovor/obs-interface
If you have any comments or questions, please contact simplified_studio@juniata.edu